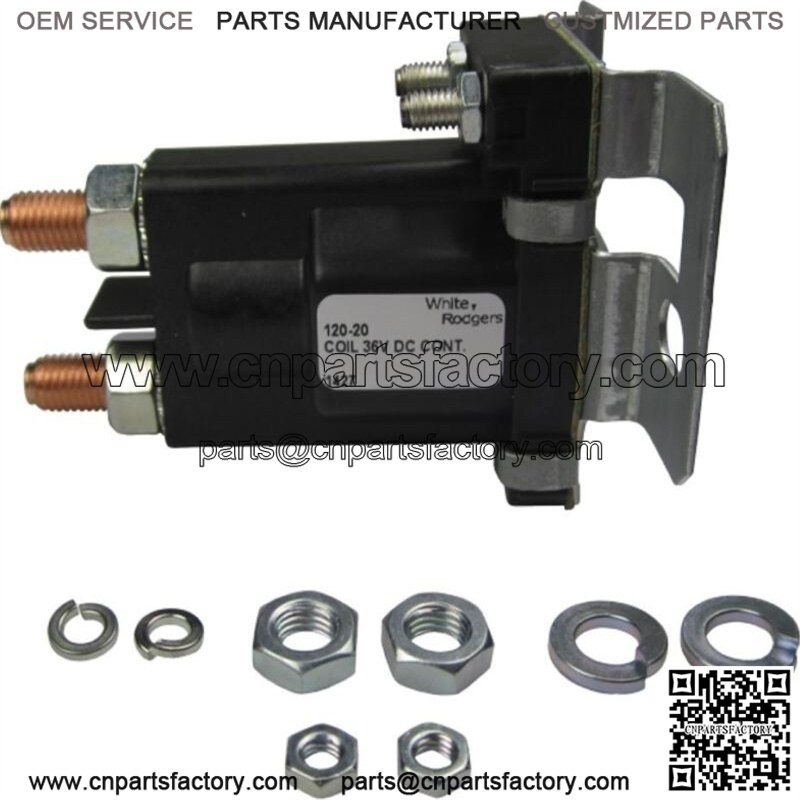
7 steps for testing a golf cart solenoid
1.You’ll need a voltmeter/multimeter, as well as a 1/2″ wrench.
2.Disconnect any wires that may be connected to the large terminals. Cover the cable terminals in tape and keep them apart from one another.
3.Set your multimeter to ohms and insert a probe on each large terminal with the key off and the cart direction switch in the neutral position.
4.Press on the accelerator with the cart’s movement control in the forward position, and the key is turned on. A click should be heard first from the solenoid.
5.Once you hear this click, set your multimeter to ohms and put a probe on every large terminal terminal using your multimeter. A measurement of 0 to 0.4 ohms should be obtained. If you get a reading higher than this, you need to replace your solenoid.
6.If your solenoid does not click, take out your multimeter, set it to DC volts on the 200 scale, and then attach a probe on each of the smaller terminals.
7.Press on the accelerator while the key is turned on and the cart is in forward.
The solenoid needs to be replaced IF the voltmeter shows a full battery voltage without a click.
If your voltmeter stays at 0, the problem stems from somewhere else in your cart.
“Keyword”
“electric golf cart bad solenoid symptoms”
“golf cart solenoid test”
“golf cart solenoid not clicking”
“48v golf cart solenoid”
“solenoid for gas golf cart”
“golf cart solenoid wiring”

