Interchange Part Number: 16100-GK8-673
Compatible for Honda Scooter 1984 -1985 NQ50 A – SPREE
Compatible for Honda Scooter 1984 -1985 NQ50 AA – SPREE
Please check part photos, part number, part description above carefully to make sure it is what you need. if any questions, please feel free to contact us.
No installation instructions, please ask a professional to install,
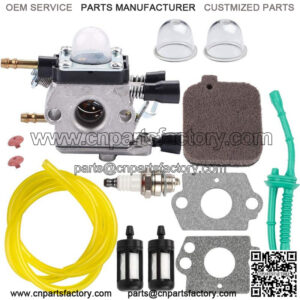
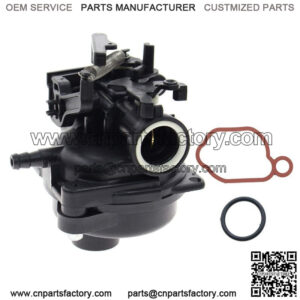
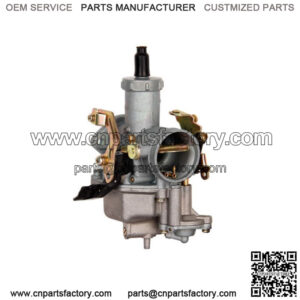
What you will get 1 x Carburetor(as picture) OE Number
16100-GK8-673
FITMENTCompatibility with
Fits for Honda NQ50 SPREE 1984-1985
Easy to Install
The structure of the carburetor is simple and clear, visible to the naked eye, and convenient for outdoor maintenance
Story
A professional auto parts company with its own factory is committed to the production of carburetor, lawn mower, snow blower and other accessories.
Upgrade Material
The new carburetor is durable and has the characteristics of wear resistance, corrosion resistance, insulation, heat resistance, etc
Perfect Match
A perfect substitute, perfectly matching your old parts, and can work well
Install Steps:1
Find a work bench that is in a well-ventilated room. When rebuilding a carburetor, a small amount of fuel is bound to spill. Having old rags nearby can help minimize the mess
2
Take apart the carburetor with wrenches and hex head keys. Lay out each of the components on the table in a way that makes it easy to put back together. Taking pictures of the disassembling procedures can help with the reassembly process
3
Change the old parts in the carburetor with the new matching parts from the carburetor kit. Most kits are generic and you may have extra parts you don’t need
4
Clean each part of the carburetor by spraying it with carburetor cleaner and wiping it with clean rags. The float bowl requires additional attention because it is typically very dirty
5
Replace the original o-rings and seals with the new ones from the kit. Pull them out of their slots with your hands and push the new ones back in. Be gentle when inserting the new rings, so you don’t damage them

")
")
")
")